Expert insights into common hardware wallet failures, troubleshooting guides, and maintenance recommendations to help protect your digital assets.
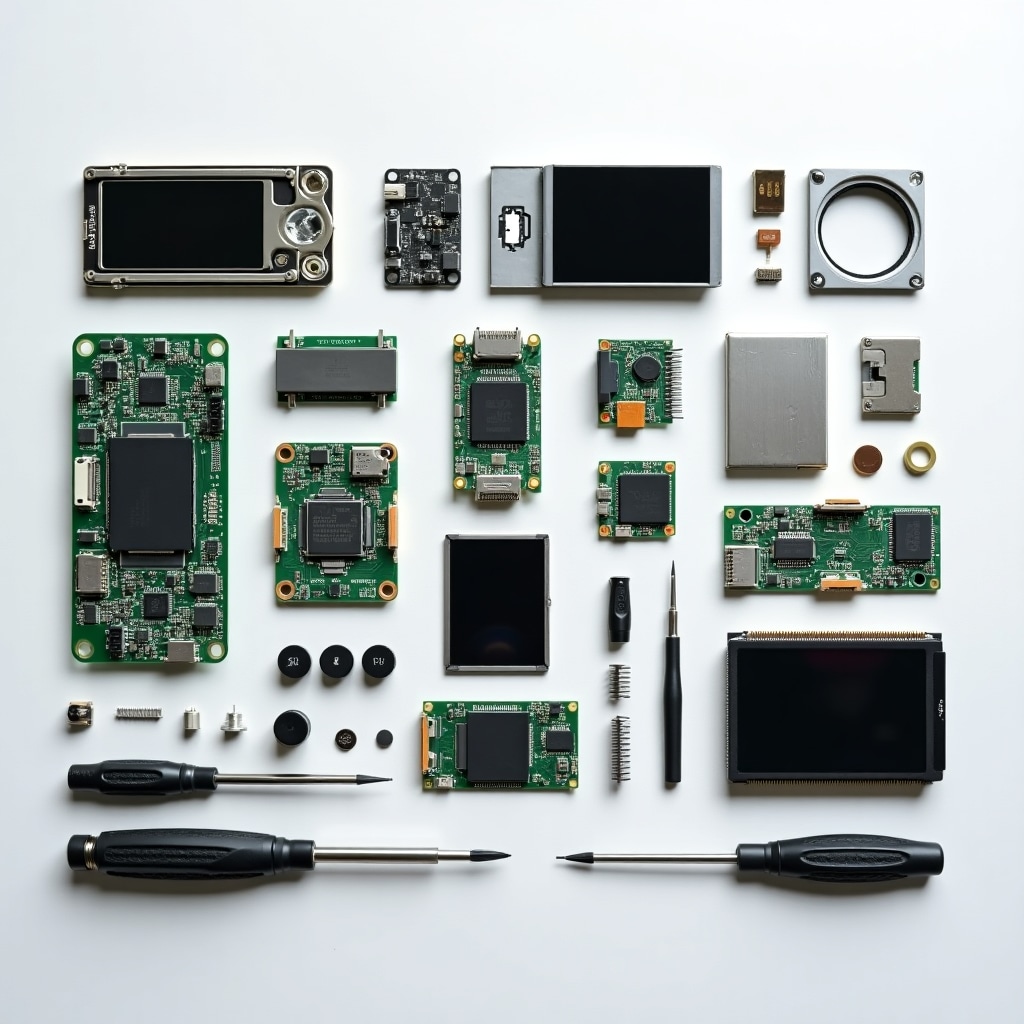
Physical damage is among the most common issues we see with hardware wallets. This includes:
Physical damage often requires component replacement or specialized micro-soldering to repair. In most cases, the secure element containing your private keys remains intact even when other components are damaged.
Connection problems between your hardware wallet and computer are another frequent complaint:
Connectivity issues can stem from damaged USB ports, faulty internal connections, or problems with the communication components. These issues often manifest as "device not recognized" errors in wallet software.
Power-related issues affect many hardware wallets, particularly those with batteries:
Battery and power issues are particularly common in older devices or those that have been left unused for extended periods. In many cases, these issues can be resolved with battery replacement or power management system repairs.
Not all hardware wallet problems are hardware-related. Software issues include:
Firmware problems can sometimes be resolved through specialized recovery techniques without physical repair. In more severe cases, we may need to access the device's recovery mode through hardware interventions.

USB connectivity issues are among the most common problems with hardware wallets, accounting for approximately 35% of all repairs we perform. When your device won't connect to your computer, several components could be at fault.
The primary causes of USB connection failures include:
The USB connector is often the most vulnerable part of a hardware wallet. Bent pins, broken solder joints, or a detached port can prevent proper connection. This typically happens from plugging cables in at an angle, using excessive force, or dropping the device while plugged in.
The USB controller manages communication between the wallet and your computer. Static discharge, power surges, or manufacturing defects can damage this component. When faulty, the device may power on but won't be recognized by your computer.
The thin copper pathways (traces) connecting the USB port to the controller can crack or break from physical stress, thermal cycling, or manufacturing defects. These microscopic breaks create an "open circuit" that interrupts the connection.
Hardware wallets require stable power to operate properly. Damaged power regulation components can cause connectivity issues even when the USB port itself is intact, as the device may not receive sufficient or stable power to establish communication.
Our technicians use a systematic approach to diagnose and repair USB connection issues:
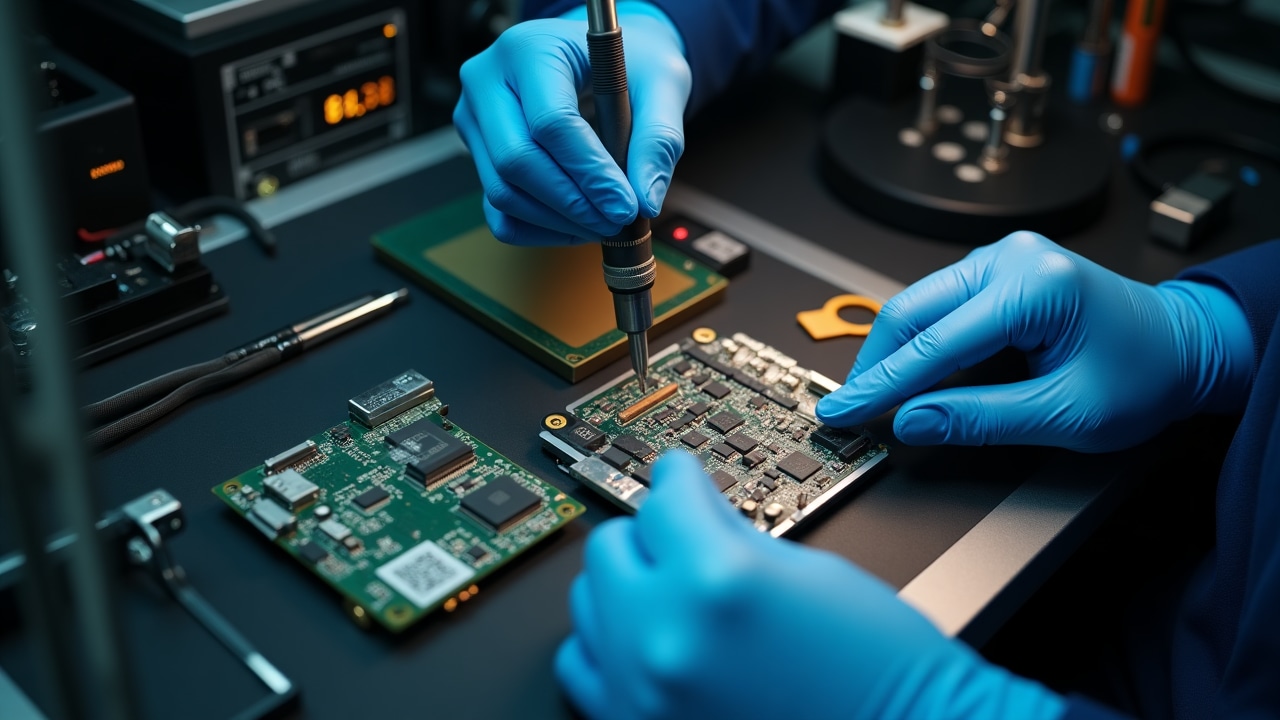
We begin with high-magnification visual inspection of the USB port and surrounding components to identify obvious physical damage. Using digital microscopes at 100-200x magnification, we can detect micro-fractures and alignment issues invisible to the naked eye.
Using specialized test equipment, we check the electrical pathways between the USB port and the controller chip to locate breaks in connectivity. This helps identify hidden issues like broken trace lines within the circuit board.
For more complex issues, we test individual components on the board to isolate the specific point of failure. This may involve measuring voltage levels, signal integrity, and component responses.
Depending on the diagnosis, repairs may involve micro-soldering new USB ports, repairing broken traces with special conductive materials, or replacing damaged controller chips using hot-air rework stations and precision soldering equipment.
To avoid USB connection failures with your hardware wallet:
With proper care, you can significantly extend the life of your hardware wallet's USB connection system and avoid the need for repairs.

The display screen on a hardware wallet is more than just a visual interface—it's a critical security component. When a screen fails, it not only affects usability but can compromise the wallet's security model by preventing verification of transaction details.
Hardware wallet screens can fail in several distinct ways:
Cracked or shattered displays are the most visible form of failure, typically resulting from drops or impacts. Even hairline cracks can spread over time and eventually affect visibility or touch functionality.
The controller chip that drives the display can fail due to electrical issues or manufacturing defects. This typically results in a completely black screen, random pixel patterns, or distorted display output.
The ribbon cables or connectors that link the display to the main board can become loose or damaged. This often results in intermittent display problems, partial displays, or screens that work only at certain angles.
For devices with touchscreens, the touch sensor layer can fail independently of the display itself. This results in unresponsive areas, phantom touches, or complete touch failure while the visual display still functions.
A functioning screen is essential to the security model of hardware wallets for several reasons:
Hardware wallets are designed to display transaction details (recipient address, amount) for visual verification before signing. A non-functional screen means you can't verify these details, potentially allowing malware on your computer to alter transaction data without your knowledge.
Most wallets display your recovery seed phrase on the screen during setup. A failed screen may leave you unable to access or verify your seed phrase, putting your assets at risk if you haven't properly backed up this information.
Without a functioning screen, entering your PIN becomes impossible on many wallet models, preventing access to your wallet's functions entirely.
Our screen repair process involves:
We use specialized equipment to determine whether the issue lies with the screen itself, the controller, or the connecting components. This includes signal testing at the controller outputs and connector interfaces.
We source display components that match the original specifications exactly, ensuring proper fit and function. This includes resolution, color reproduction, viewing angle, and touch sensitivity where applicable.
Screen replacement requires careful handling to avoid damaging the fragile display components or the sensitive electronics beneath. We use temperature-controlled tools and ESD-safe procedures during installation.
After installation, screens are calibrated for optimal touch response and display accuracy, then thoroughly tested across all wallet functions to ensure proper integration with the device firmware.
To protect your hardware wallet's screen:
With proper screen maintenance and protection, you can ensure that this critical security interface remains functional throughout your hardware wallet's lifespan.

Firmware issues represent some of the most challenging hardware wallet problems because they exist at the intersection of hardware and software. A "bricked" wallet—one that won't boot properly due to firmware corruption—can seem like a complete loss, but specialized recovery techniques can often restore functionality without risking your assets.
Hardware wallets typically experience firmware failures in these scenarios:
The most common cause of firmware failure is an interrupted update process. Power loss, disconnection, or computer crashes during firmware flashing can leave the device in a partially updated state that prevents normal operation.
The bootloader is the first code that runs when your device powers on. Damage to this critical component prevents the main firmware from loading, resulting in a device that powers on but shows no proper interface or functionality.
The flash memory storing the firmware can develop bad sectors or experience write failures that corrupt the firmware code. This can happen gradually over time or suddenly due to power issues or component failure.
Some users attempt to install modified or third-party firmware, which can lead to compatibility issues or security vulnerabilities if not properly implemented.
Our firmware recovery process employs several advanced techniques:
Most hardware wallets have a built-in recovery mode that can be accessed through specific button combinations during startup. This mode is often designed to allow firmware reinstallation even when the main system is corrupted. Our technicians are familiar with the undocumented recovery procedures for all major wallet brands.
In cases where normal recovery modes are inaccessible, we can use specialized hardware tools to directly access the device's flash memory. This requires temporarily connecting to debug ports or test points on the circuit board to establish a communication channel bypassing the normal interfaces.
When the bootloader itself is damaged, we can sometimes restore it through low-level programming using JTAG, SWD, or other hardware debugging interfaces that connect directly to the microcontroller. This is a delicate procedure that requires detailed knowledge of the specific device architecture.
Throughout any firmware recovery process, maintaining the integrity of the secure element containing private keys is our highest priority. Our techniques are designed to leave this element untouched while restoring the operational components of the firmware.
Firmware recovery raises important security considerations that we address through strict protocols:
We only use firmware images obtained directly from the original manufacturers, with cryptographic verification to ensure authenticity. This prevents the installation of potentially compromised firmware versions.
All firmware recovery procedures are performed on dedicated systems isolated from the internet and other networks to prevent potential malware interference during the recovery process.
Whenever possible, we use non-invasive recovery methods that don't require opening the secure element or accessing areas containing key material. This preserves the security model of the device.
After firmware recovery, we perform several verification steps:
For maximum security after a serious firmware issue, we recommend that users verify their recovered device by checking that it still recognizes their previously created accounts and balances when connected to their wallet software.
To minimize the risk of firmware-related failures:
With proper precautions during updates and our advanced recovery techniques, even severe firmware issues can often be resolved without loss of access to your digital assets.
The physical input systems on hardware wallets—buttons, switches, and touch sensors—are often the first components to fail due to mechanical wear. When these systems malfunction, accessing your wallet and authorizing transactions becomes difficult or impossible, even if the internal components remain functional.
Understanding the mechanics behind hardware wallet buttons helps in diagnosing issues:
Most hardware wallets use small tactile switches (tact switches) mounted on the circuit board. These switches have a metal dome that provides tactile feedback when pressed and completes an electrical circuit.
Some wallets use membrane-style contacts where a conductive pad on a flexible layer makes contact with traces on the circuit board when pressed.
Higher-end models may use capacitive touch sensors that detect the electrical properties of your finger without requiring physical pressure.
The input signals from these physical components are processed by the wallet's microcontroller, which interprets patterns of presses as commands (navigation, confirmation, PIN entry, etc.).
Button and input systems typically fail in predictable ways:
The metal domes in tactile switches gradually lose their springiness after thousands of presses, resulting in buttons that feel "mushy" or require excessive force. Eventually, they may stop registering presses entirely.
Dust, moisture, or oxidation can build up on contact surfaces, preventing proper electrical connection when buttons are pressed. This often manifests as intermittent functionality—sometimes the button works, sometimes it doesn't.
The physical force of button presses can stress the solder joints connecting switches to the circuit board. Over time, these joints can crack, creating intermittent connections or complete failures.
The thin copper traces that connect buttons to the microcontroller can develop microscopic cracks from repeated flexing or thermal stress, interrupting the signal path.
Exposure to liquids can cause immediate or delayed failure through corrosion or short circuits in the button mechanism or associated circuitry.
Our technicians use a systematic approach to diagnose input system issues:
We begin by assessing the feel and response of each button, noting any that feel different from others or require unusual force. Visual inspection under magnification can reveal physical damage or contamination.
Using specialized test equipment, we check whether buttons are properly completing electrical circuits when pressed. This helps distinguish between mechanical failures and electrical connection issues.
For more complex issues, we trace the signal path from the button to the microcontroller using oscilloscopes and logic analyzers to pinpoint exactly where the signal is being lost or corrupted.
Some button issues are temperature-sensitive or occur only after the device warms up. We can simulate various environmental conditions to reproduce and diagnose intermittent problems.
Based on our diagnosis, we apply appropriate repair techniques:
For worn or damaged tactile switches, we carefully remove the old component and replace it with a new, manufacturer-equivalent switch that matches the original specifications for tactile feel, actuation force, and electrical characteristics.
For contaminated contacts, we use specialized cleaning solutions and techniques to remove oxidation and debris without damaging sensitive components. In some cases, we can restore conductivity to corroded contacts using conductive ink or paste.
Broken circuit traces can be repaired using micro-wire jumpers or conductive epoxy to bridge gaps while maintaining the electrical characteristics of the original circuit.
Weakened solder joints are reinforced or completely redone using lead-free solder and controlled-temperature soldering equipment to ensure reliable connections without thermal damage to surrounding components.
In severe cases where the original button mounting area is damaged beyond repair, we can sometimes modify the circuit board to accommodate a new switch in a slightly different position while maintaining connectivity to the original circuitry.
To extend the life of your hardware wallet's input system:
With proper care and timely repair when issues first appear, the input system on your hardware wallet can remain reliable throughout the device's lifespan, ensuring continued secure access to your digital assets.
After repair, protect your device with a high-quality case that offers impact resistance. Consider silicone covers for buttons and ports to prevent dust ingress and minimize wear on these components.
Use high-quality USB cables and power sources. Avoid leaving the device plugged in continuously, and maintain battery health by performing a full discharge and recharge cycle every 2-3 months for devices with batteries.
Keep firmware updated but follow safe update procedures. Connect directly to your computer (not through hubs), ensure stable power, and never interrupt the update process. Verify the authenticity of all updates.
Store your hardware wallet in a temperature-controlled environment (50-80°F/10-27°C) with low humidity. Avoid exposure to direct sunlight, extreme temperatures, or magnetic fields that can affect electronic components.
Clean your device gently with a microfiber cloth. For stubborn dirt, lightly dampen the cloth with isopropyl alcohol (90%+) and ensure the device is powered off. Never use household cleaners or immerse the device in any liquid.
Periodically test all functions of your wallet, including buttons, screen, and connectivity. Early detection of developing issues can prevent more serious failures and data loss situations.
Our expert technicians are ready to diagnose and repair your device with industry-leading security protocols.
Contact Us for Repair